-
Welcome to the Community Forums at HiveWire 3D! Please note that the user name you choose for our forum will be displayed to the public. Our store was closed as January 4, 2021. You can find HiveWire 3D and Lisa's Botanicals products, as well as many of our Contributing Artists, at Renderosity. This thread lists where many are now selling their products. Renderosity is generously putting products which were purchased at HiveWire 3D and are now sold at their store into customer accounts by gifting them. This is not an overnight process so please be patient, if you have already emailed them about this. If you have NOT emailed them, please see the 2nd post in this thread for instructions on what you need to do
You are using an out of date browser. It may not display this or other websites correctly.
You should upgrade or use an alternative browser.
You should upgrade or use an alternative browser.
SKYLAB CHAT
- Thread starter skylab
- Start date
skylab
Esteemed
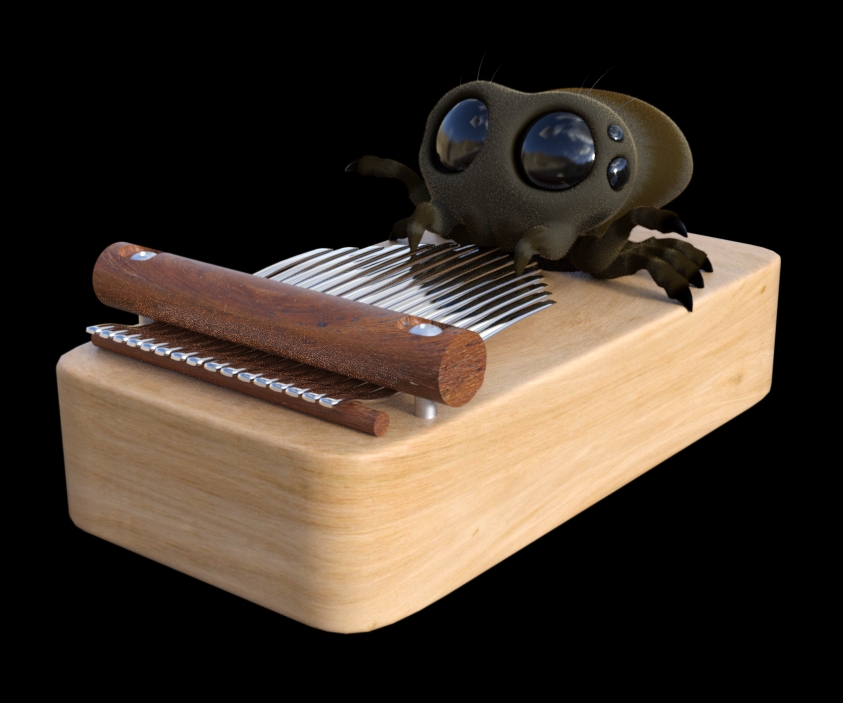
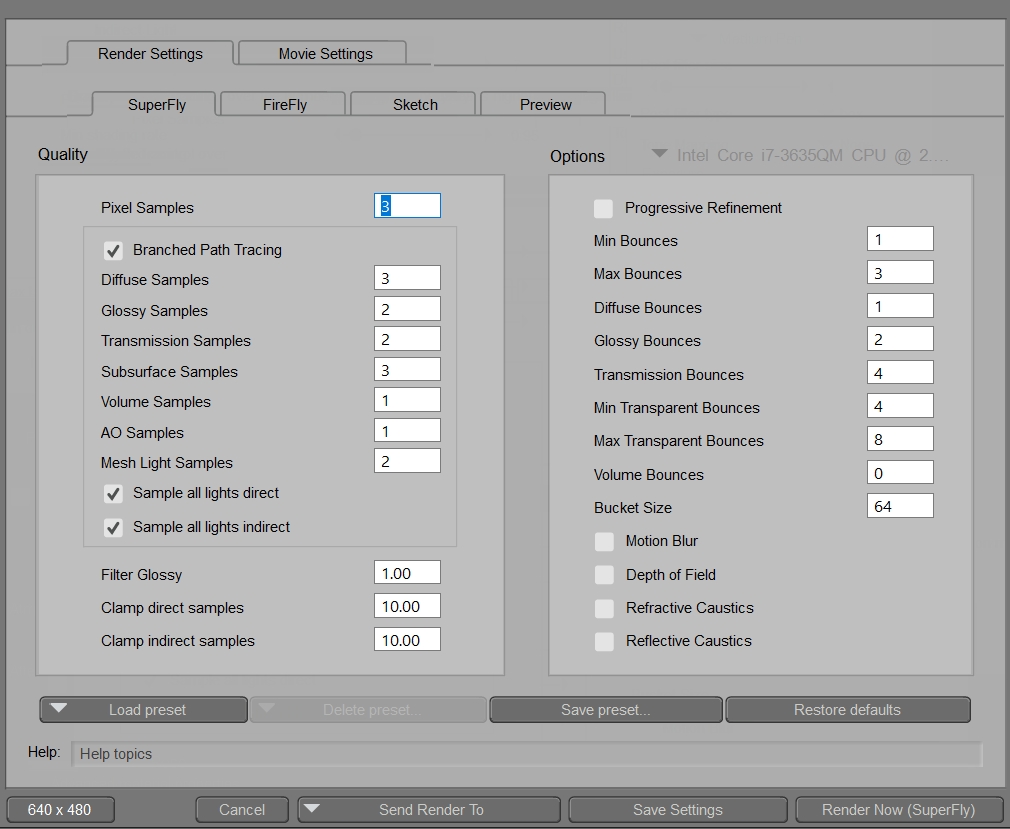
Finally making progress in Studio  I need to locate the render settings and play with the settings in order to eliminate some of the white specks on the darker wood....but it was a big accomplishment to get the shaders applied to the Kalimba, and find how to select the various parts of it
  If I can get past these hurdles, then I would use Studio more often.

Linda B
Extraordinary
OH my that's so cute! I've never tried animations in Studio or Poser, so I bow to you, sky.
Some useful tips for Iray: Daz Studio Iray Tips and Tricks
I haven't read through them all yet as there are several different pages of helpful hints.
Biggest thing I've found regarding specks is playing around with different settings under "progressive rendering", the Completion tab. And also the spectral rendering tab.
Last edited:
skylab
Esteemed
Good morning Linda  Yeah, I figured there were settings like that somewhere, because Poser has a setting in superfly renders that gets rid of specks....the default Pixel Samples is 3....but I've found that a setting of 6 or 7 is best as a balance between quality and speed of the render. Sometimes if a scene is heavily populated or has lights that take time to render, or if little white specks show in the test render, than increasing this number more and more will yield a better quality render, but the greater the Pixel Sample number, the more time it will take to render the scene. And, I'm assuming that there's a similar setting in Studio, that will remove the specks. The animation of Lucas playing the Kalimba took several hours to render, because I chose to let it go with IRAY, just to see what an IRAY video would look like

skylab
Esteemed
Linda, I feel like I'm returning to my roots....I actually did my very first animations in DAZ Studio a decade ago. My old tutorial is still on ShareCG...and the only thing that has changed is the appearance of the render settings, where choices are made for rendering the final video. But I did the Lucas animation the very same way this morning, on the Studio timeline. In order to get the Timeline to show along the bottom of the screen in Studio, just select Window along the top Menu.....Window -> Panes -> Timeline . I've attached the old DS animation PDF tutorial to this thread post in case you get brave and want to try it. I mentioned above that I missed the Poser features....in Poser it's easy to get frame 1 and the end frame to line up with the same settings, so that there are no hiccups or burbs in the flow....but in Studio, the features are so scattered around, I'll have to study how to accomplish this. Having the first frame and the end frame identical helps to produce a smooth looping animation. But for beginning, just be glad that you figure out how to get it to move 
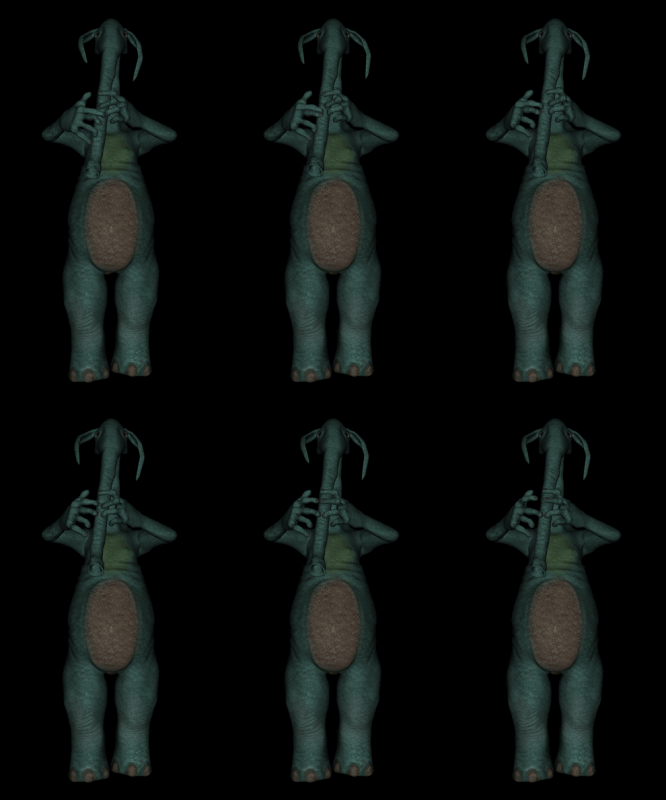
In the PDF I was using the old animation of Slon playing his horn trunk as an example
Here's the link on ShareCG: DAZ STUDIO ANIMATION

In the PDF I was using the old animation of Slon playing his horn trunk as an example
Here's the link on ShareCG: DAZ STUDIO ANIMATION
Attachments
skylab
Esteemed
Added note....one of the best ways to try a beginning animation is to choose a couple or three poses, and apply them along the timeline....like at frame 1, frame 15, and then frame 30.....or you could do frame 1, frame 10, frame 20, and then frame 30 would be your end frame.....and then allow Studio to animate the character, morphing from one pose to another....similar to the way dynamic cloth goes from here to there on its own once you choose the destination pose. When I first got started doing animation, I didn't have the benefit of preset poses to use....like in the case of Slon, there were no "nose blowing" poses....haha....so I made it up as I went, skipping along every five or 10 frames. So either way works 


skylab
Esteemed
I know I'll have to invest some time (hope it doesn't take two hours, but if it does, than so be it) to figure out why the fuzzies don't show up as well on my Lucas as it does when you render him out Linda. It could have to do with when I scale him....I try to remember to get all of his parts, the body of the model and the hair, but I may have failed to scale the hair up enough....or it could be a render setting. I really like your fuzzy little spider  My Poser hair version was more wispy and scraggley....guess he was a Nursoda village spider....haha. Anyway, I need to get good control over how to move the whole spider, since I want to practice making him bounce a little....for the drums, or bongos....and the keyboard
  I've also got to find him the perfect sink to play in. Lots of stuff on the to do list
  I've got enough shaders and light presets now to help with the Studio learning curve....I finally decided that the only way I'd really get an understanding of the lighting is find a few good light sets and study how they are done....and, actually, that was how I learned a little about Poser lighting. The only thing holding me back was getting started....and your spider provided that motivation....once again, thanks Linda


Linda B
Extraordinary
I've never scaled the spider. I always scale to Studio haired figures. I don't think the "hair" likes to be scaled.
Lights in Iray are harder than 3delight lights. I guess because you can't actually see the light in preview. I have figured out how to fiddle in the render settings under the enviroment tab. Just found that out tday! See, you can teach oldsters new tricks.
Lights in Iray are harder than 3delight lights. I guess because you can't actually see the light in preview. I have figured out how to fiddle in the render settings under the enviroment tab. Just found that out tday! See, you can teach oldsters new tricks.

skylab
Esteemed
Ah...just as I was beginning to suspect...I'm so accustomed to scaling freely in Poser...I'll have to change how I do things when working in Studio.
I had noticed not being able to see the lights when working in iray....and I think geez, how are you supposed to set up the scene, or do poses, let alone timed animations :/ Again, will have to figure out how to do these things....I may have to shift to 3delight for set up, and do the final touches with iray settings.
Yep, never get too old to learn...and I find that I'm happier if I'm slightly on the edge of new things....keeps me motivated

Linda B
Extraordinary
Ken G has an atlas moth here in h3d: Nature's Wonders Moths of the World Vol.2 - A Ken Gilliland 3D Creation
Stezza
Dances with Bees
Yes, Stezza, exactly like that! Wonderful! Is it possible to export as .obj? And even your Kalimba also....in my opinion, they'd be great on ShareCG, since they are one of a kind
nah.. I rather just play around in Carrara and let anyone who gets them experiment with..
but yeah you can export them to OBJ from Carrara but no guarantees they will work in Poser or DS.... but hey Carrara rocks


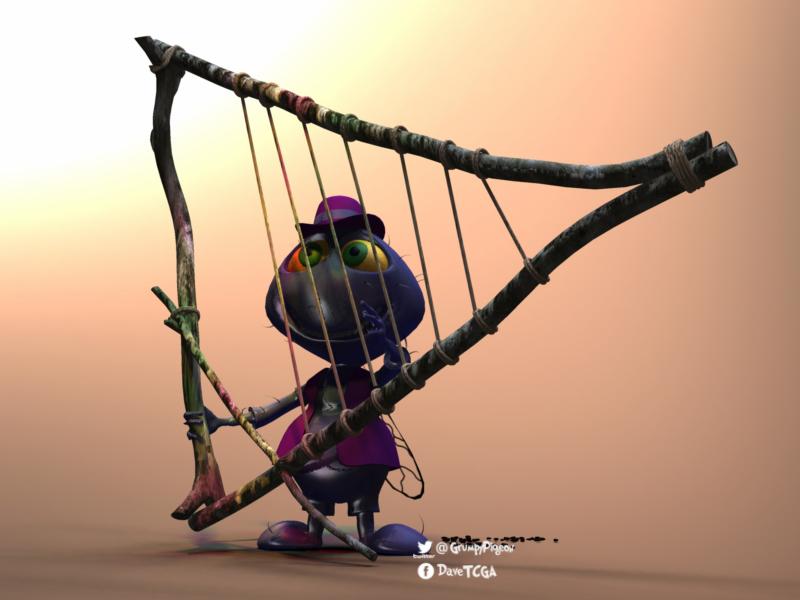
over yonder to get the wooden harp thingy
Modeled and rendered in Carrara using Carrara textures and lighting


