-
Welcome to the Community Forums at HiveWire 3D! Please note that the user name you choose for our forum will be displayed to the public. Our store was closed as January 4, 2021. You can find HiveWire 3D and Lisa's Botanicals products, as well as many of our Contributing Artists, at Renderosity. This thread lists where many are now selling their products. Renderosity is generously putting products which were purchased at HiveWire 3D and are now sold at their store into customer accounts by gifting them. This is not an overnight process so please be patient, if you have already emailed them about this. If you have NOT emailed them, please see the 2nd post in this thread for instructions on what you need to do
You are using an out of date browser. It may not display this or other websites correctly.
You should upgrade or use an alternative browser.
You should upgrade or use an alternative browser.
Show Us Your Lisa's Botanicals Renders!
- Thread starter Chris
- Start date
Beautiful renders everyone! =) I have enjoyed browsing through them! Love the bell flowers Satira and the Si-Fi spin on them.
Oh what the Hay! I'm working on a little something for New Years that I will post soon.
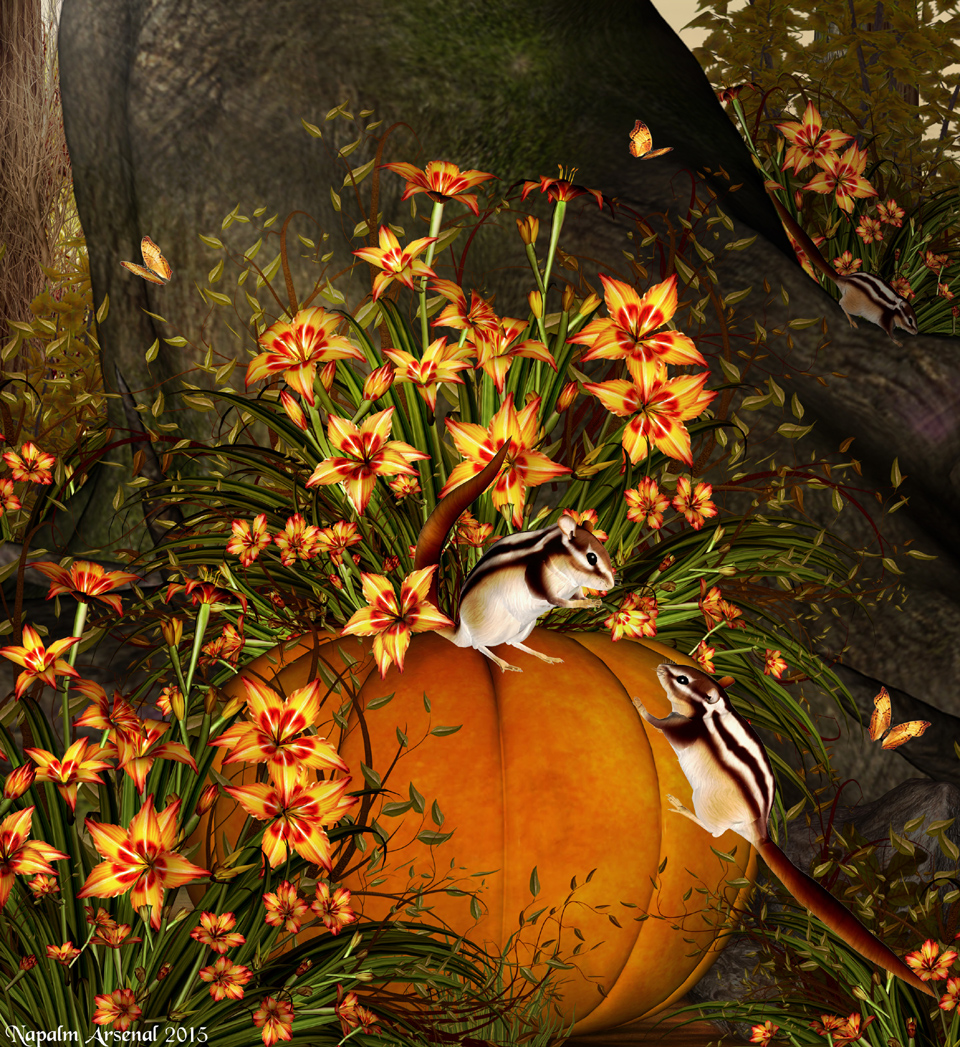
Chipmunk Amore ........
Lisa's Botanicals Curious Grasses and Vines
Lisa's Botanicals Daylily
Frills Prism Textures for Lisa's Botanicals Daylily
RDNA winter foliage vol 1
RDNA Fall Foliage
Tree and pumpkin from Daz Studio
Chipmunks freebie from Renderosity JTrout
OOOh! Gorgeous Napalm!
Even though I was born in October, I'm not crazy about orange, but I'll make an exception for this one!
Thanks Miss B and Napalm.
Even though I was born in October, I'm not crazy about orange, but I'll make an exception for this one!
Thanks Miss B and Napalm.
Flint_Hawk
Dances with Bees
I am glad you put this picture back up NapalmArsenal! It is wonderful!
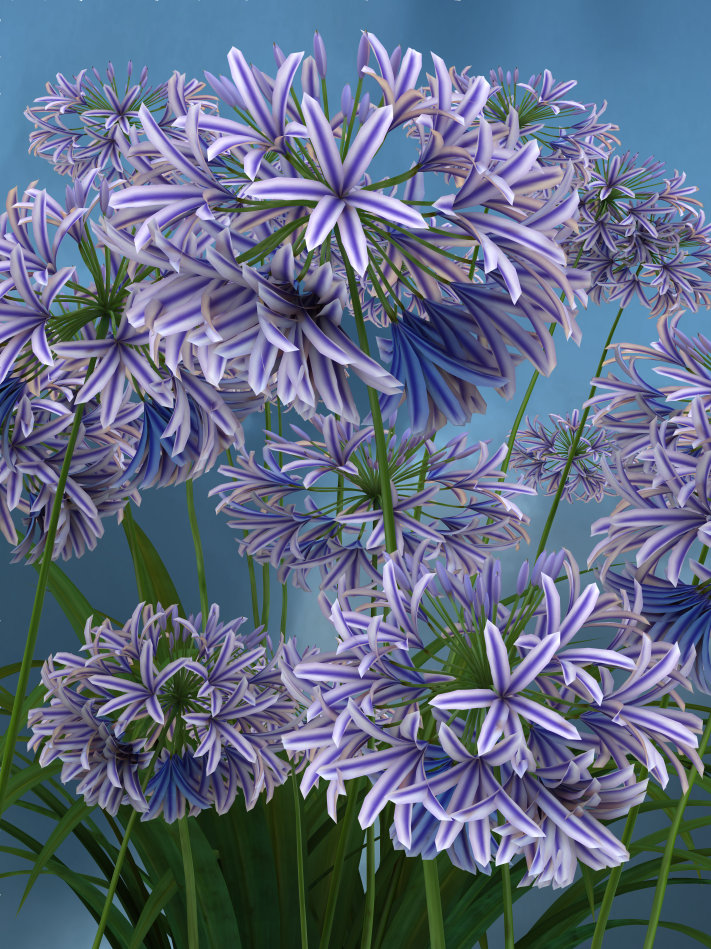
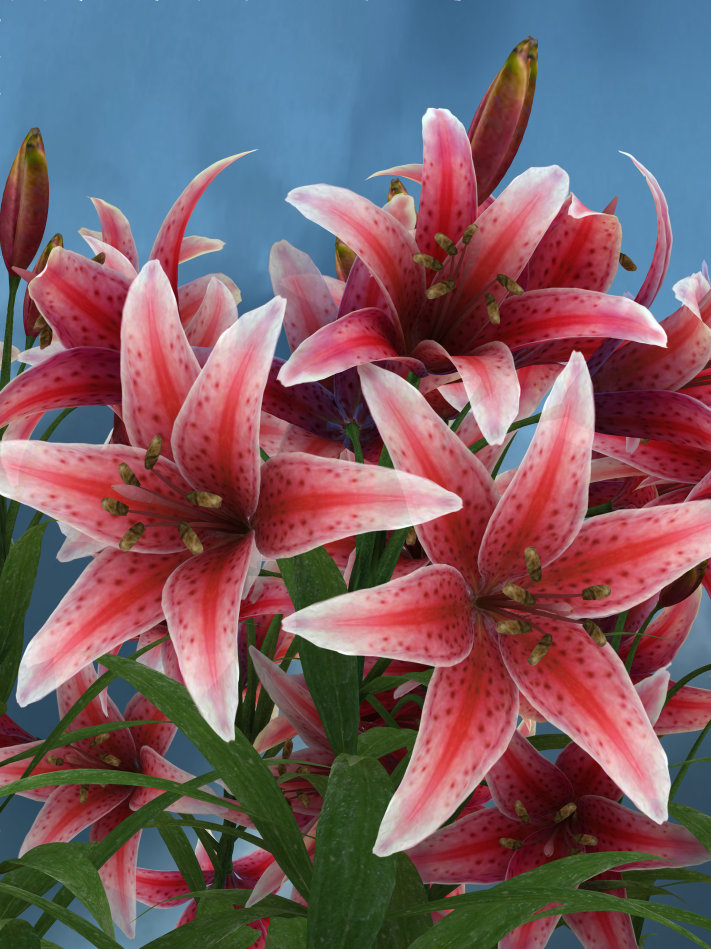
These are simply two renders testing SSS with Lisa's flowers.


STUNNING!!! How did you use SSS on Lisa's flowers, please?
and @NapalmArsenal - I just love this...and it looks even better here in the new forum!!
and @NapalmArsenal - I just love this...and it looks even better here in the new forum!!
I'd like to know that too.STUNNING!!! How did you use SSS on Lisa's flowers, please?
Easy Peasy. I saved the original post to a google doc, so let me dig it up. I used the same setup on the two above that I used with the Hyacinths here
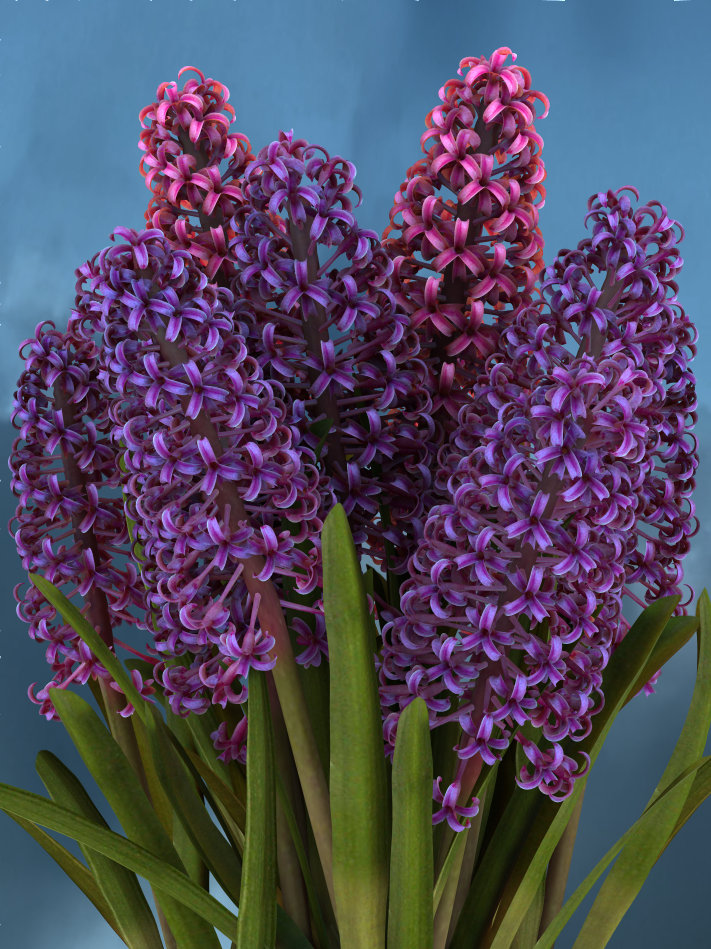
Here are Lisa's Hyacinths. I used Poser Unimesh and set SubD to 1.
Listed below are the material, IDL Sphere, SkyDome, and IDL Render settings I used with the Hyacinths.
The same texture map (LB_Hyacinth02.jpg) is used on all of the Hyacinths, so I'm not sure why two are pink while the others are purple.

Hyacinths
PoserSurface
Diffuse_Color: R 253, G 253, B 253
Diffuse_Value: 0.0
Specular_Color: Black
Specular_Value: 1.0
Highlight_Size: 100.0
Ambient_Color: Black
Ambient_Value: 0.0
Transparency: 0.0
Transparency_Edge: 0.0
Transparency_Falloff: 0.0
Translucence_Color: Black
Translucence_Value: 0.0
Nodes:
Diffuse Channel
Texture Node
Subtract Node
Blender Node
HSV Node
Blinn Node
TerraDome 2 SkyDome
Diffuse_Color: R 182, G 237, B 255
Diffuse_Value: 0.0
Specular_Color: Black
Specular_Value: 1.0
Highlight_Size: 0.02
Ambient_Color: White
Ambient_Value: 1.0
Both connected to Image_Source Stratocumulus
(RDNA TerraDome 2 SkyDome texture)
Transparency: 0
Transparency_Edge: 0
Transparency_Falloff: 0
Translucence_Color: Black
Translucence_Value: 0
IDL Sphere
Diffuse_Color: R 204, G 204, B 204
Diffuse_Value: 0.0
Specular_Color: R 153, G 153, B 153
Specular_Value: 0.0
Highlight_Size: 0.1
Ambient_Color: R 237, G 237, B 239
Ambient_Value: 0.6
Transparency: 0
Transparency_Edge: 0
Transparency_Falloff: 0
Translucence_Color: Black
Translucence_Value: 0
Alternate_Diffuse
Connected to Image_Source Overcast
(RDNA IDL Studio texture)
Light
When Visible to Camera unchecked, object will not appear in render
I sometimes get better results when I use the IDL Sphere as a not visible to camera Light emitter and use a second smaller IDL Sphere or a skydome as a visible to camera sky background.
Render Settings
Here are Lisa's Hyacinths. I used Poser Unimesh and set SubD to 1.
Listed below are the material, IDL Sphere, SkyDome, and IDL Render settings I used with the Hyacinths.
The same texture map (LB_Hyacinth02.jpg) is used on all of the Hyacinths, so I'm not sure why two are pink while the others are purple.
Hyacinths
PoserSurface
Diffuse_Color: R 253, G 253, B 253
Diffuse_Value: 0.0
Specular_Color: Black
Specular_Value: 1.0
Highlight_Size: 100.0
Ambient_Color: Black
Ambient_Value: 0.0
Transparency: 0.0
Transparency_Edge: 0.0
Transparency_Falloff: 0.0
Translucence_Color: Black
Translucence_Value: 0.0
Nodes:
Diffuse Channel
Texture Node
- Add New Node > 2D Textures > image_map
- Click Image_Source (None) and browse to and select texture file
- Change Filtering to Crisp
- Connect to Diffuse_Color Channel
Subtract Node
- Add New Node > Math > math_functions
- Change Math_Argument to Subtract
- Value_2 to 0.5
- Connect to Bump Channel
- Change Bump to 0.001667
- Add New Node > 3D Textures > turbulence
- Change x scale to 0.05
- Change y scale to 0.05
- Change z scale to 0.05
- Change Gain to 0.15
- Change Noise_Type to Improved
- Connect to Value_1 of Subtract Node
Blender Node
- Add New Node > Math > blender
- Change Input_2 to Black
- Change Blending to 1
- Connect to Alternate_Diffuse channel
HSV Node
- Add New Node > Math > hsv
- Change Value to 1.1
- Connect to Input_1 of Blender Node
- Add New Node > Lighting > Special > scatter
- Change Material to Skin 1
- Uncheck User_Material_Color
- Change Texture_Detail to 1
- Change Scale to 1.75
- Connect to Color of HSV Node
Blinn Node
- Add New Node > Lighting > Specular > blinn
- Change Eccentricity to 0.25
- Change SpecularRollOff to 0.5
- Change Reflectivity to 1.4
- Connect to Blending of Blender Node
- Connect to Alternate_Specular
- Specular_Color: R 239, G 239, B 239
- Add New Node > 3D Textures > turbulence
- Connect to Reflectivity of Blinn Node
- Change x scale to 0.02
- Change y scale to 0.02
- Change z scale to 0.02
- Change Bias to 0.8
- Change Noise_Type to Improved
- Connect Texture Node to Color of Scatter Node
- Connect Texture Node to Specular_Color of Blinn Node
TerraDome 2 SkyDome
- Visible checked
- Visible in Raytracing checked
- Light emitter checked
- Visible to Camera checked
Diffuse_Color: R 182, G 237, B 255
Diffuse_Value: 0.0
Specular_Color: Black
Specular_Value: 1.0
Highlight_Size: 0.02
Ambient_Color: White
Ambient_Value: 1.0
Both connected to Image_Source Stratocumulus
(RDNA TerraDome 2 SkyDome texture)
Transparency: 0
Transparency_Edge: 0
Transparency_Falloff: 0
Translucence_Color: Black
Translucence_Value: 0
IDL Sphere
- Visible checked
- Casts shadows unchecked
- Light emitter checked
- Visible in Raytracing checked
- Visible to Camera unchecked
Diffuse_Color: R 204, G 204, B 204
Diffuse_Value: 0.0
Specular_Color: R 153, G 153, B 153
Specular_Value: 0.0
Highlight_Size: 0.1
Ambient_Color: R 237, G 237, B 239
Ambient_Value: 0.6
Transparency: 0
Transparency_Edge: 0
Transparency_Falloff: 0
Translucence_Color: Black
Translucence_Value: 0
Alternate_Diffuse
Connected to Image_Source Overcast
(RDNA IDL Studio texture)
Light
- Shadows unchecked
- Diffuse IBL
- xRotate: -90
- Intensity: 50%
When Visible to Camera unchecked, object will not appear in render
I sometimes get better results when I use the IDL Sphere as a not visible to camera Light emitter and use a second smaller IDL Sphere or a skydome as a visible to camera sky background.
Render Settings
- Cast shadows checked
- Subsurface Scattering checked
- Raytracing: 1 bounce
- Irradiance caching: 50
- Indirect Light Quality: 50
- Pixel samples: 10
- Min shading rate: 0.10
Welcome!
Absolutely. Just save it from the material room as a Single Material (mt5).
Thanks Satira!! Love the effects!
Kewl!Absolutely. Just save it from the material room as a Single Material (mt5).
Thanks Napalm. With your textures and SSS, that would be SPECTACULAR
OH MY GOOD GRAVY!!!!!!!!!! Thanks!! I am going to copy out and study this... wow!!
um....the flowers already have a map...so not sure if there are some of these I don't have to do because they are set up already... um.... I wonder too, if one could just tell poser to create the SSS on/for the flower petals? I'm a bit over whelmed the more I look at this...
um....the flowers already have a map...so not sure if there are some of these I don't have to do because they are set up already... um.... I wonder too, if one could just tell poser to create the SSS on/for the flower petals? I'm a bit over whelmed the more I look at this...
Last edited:
