• Welcome to the Community Forums at HiveWire 3D! Please note that the user name you choose for our forum will be displayed to the public. Our store was closed as January 4, 2021. You can find HiveWire 3D and Lisa's Botanicals products, as well as many of our Contributing Artists, at Renderosity. This thread lists where many are now selling their products. Renderosity is generously putting products which were purchased at HiveWire 3D and are now sold at their store into customer accounts by gifting them. This is not an overnight process so please be patient, if you have already emailed them about this. If you have NOT emailed them, please see the 2nd post in this thread for instructions on what you need to do

HiveWire 'Depth of Field' Render Challenge: CLOSED

3dcheapskate

Busy Bee
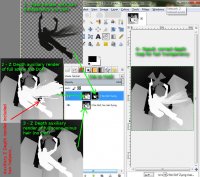
I just tried creating a '...depth-map for postwork that respects the transparency...' as I mentioned in the previous post. A picture speaks a thousand words, so...

First, I had to do two separate Z Depth renders, one with the hair visible and one with it invisible, and then I created a mask by switching off all background objects and lights and rendering. I had to do a little fiddle with the mask in GIMP (invert it, overlay it on a black background, and tweak levels), and then I used it to combine the two depth maps as shown below:

transparentZDepthFix.jpg

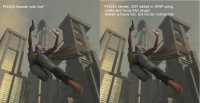
I then used the resultant depth map along with my basic render (without DoF) and the Focus Blur plugin. Here's a comparison of a straight PP2014 render with DoF, and my postwork DoF version:

comparison.jpg

I'm now quite happy to use either method !
 

Lyne

Distinguished
HW Honey Bear
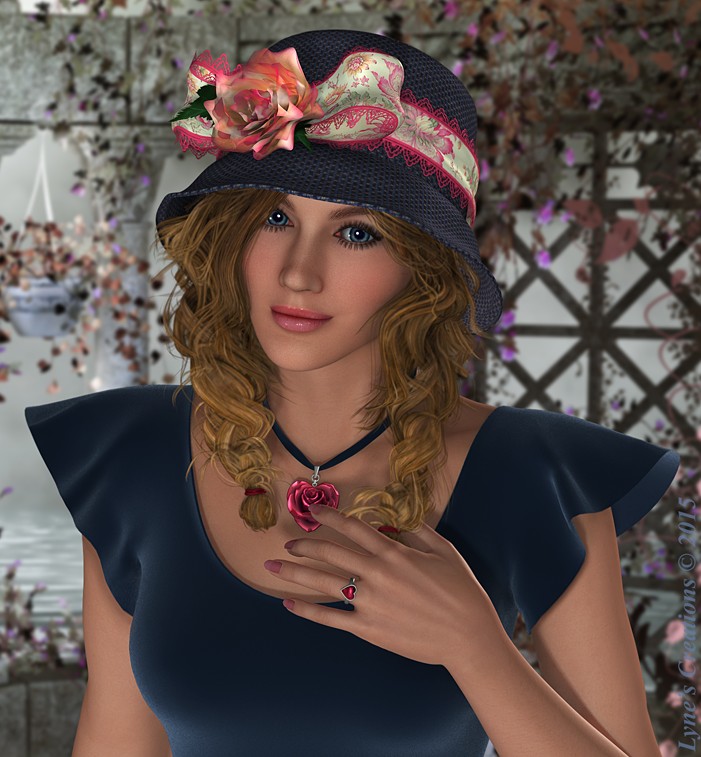
Great picture Lyne! Classic use of dof for a portrait - something that all the photography books tell you about, but that I never, ever managed to do!
In terms of technique you've already said it's postwork. Assuming that you don't mind sharing (of course if there are any personal trade secrets in there I wouldn't expect you to divulge them!) - did you use a rendered depth-map, a rendered foreground mask, or some other method (e.g. manual selection) to define the in/out of focus areas ? What tool(s) and settings did you use to blur the out-of-focus areas (I'd assume you used Photoshop, which I don't have a clue about, but I'm sure that other folks use).

I SIMPLY use a pre-made background pic and Gaussian Blur MORE :) Simple and fast.
 

Lyne

Distinguished
HW Honey Bear
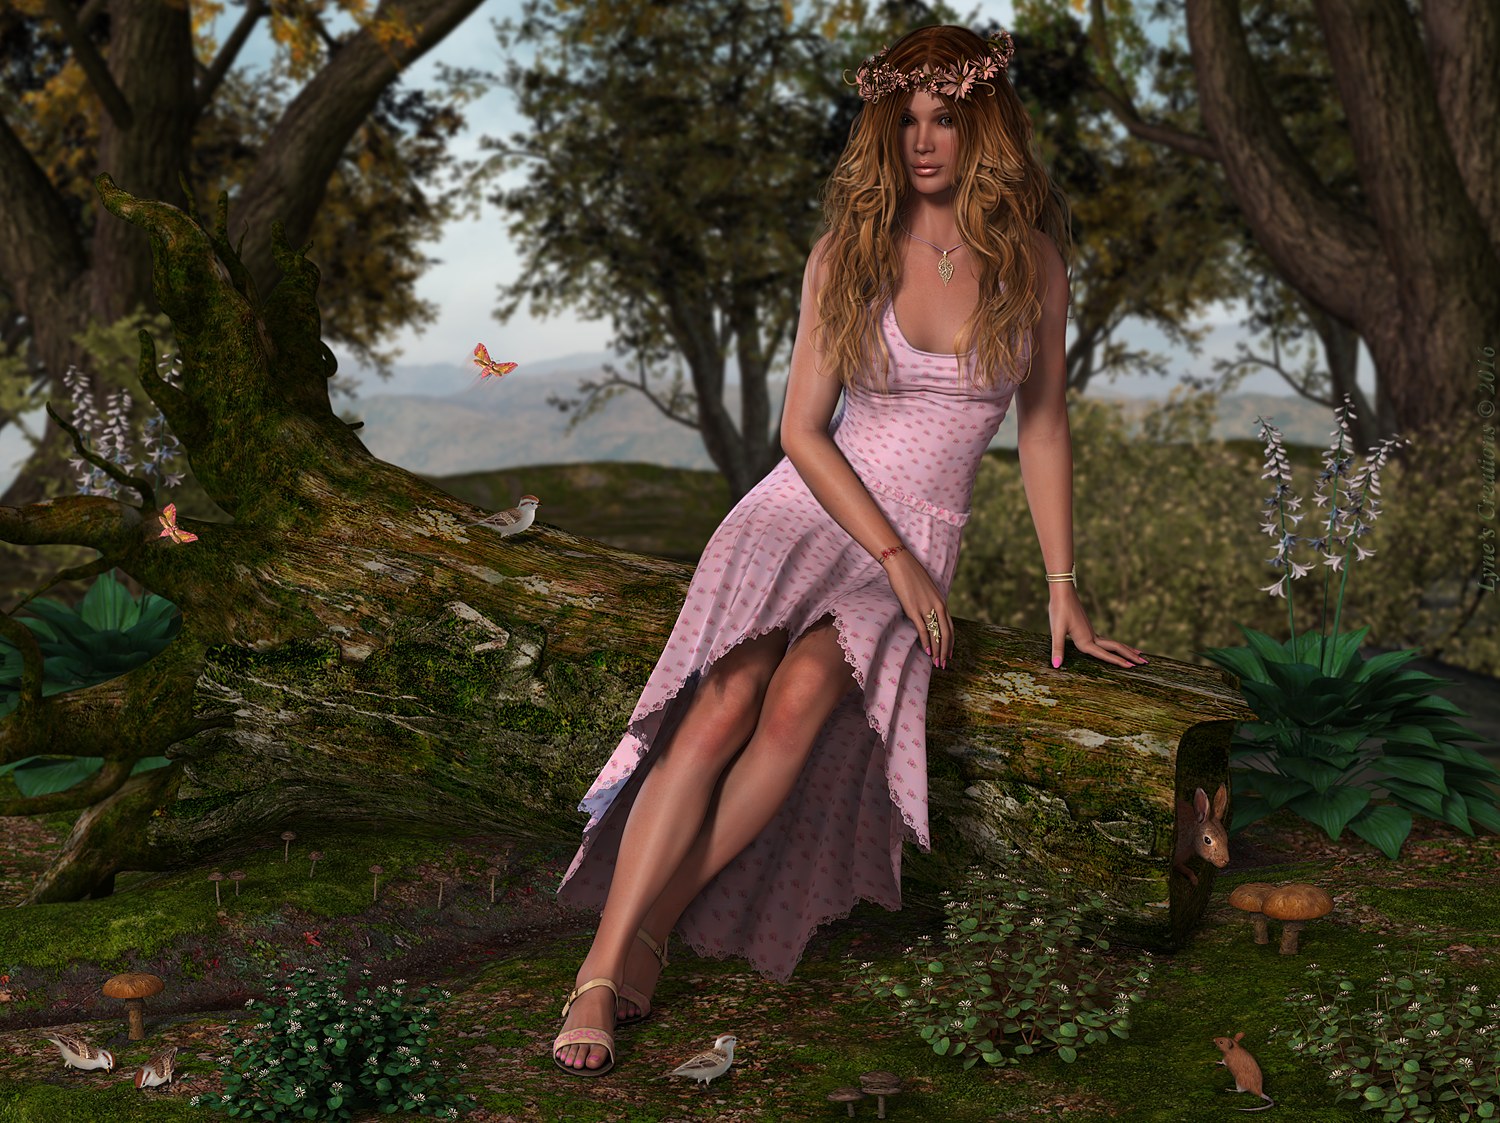
FINISHED RENDER
Serene Dream

My 3rd entry....Could not believe I had not posted my MOST favorite piece in my gallery here... and also used DOF in 2 ways- blurred the background pic and LESS BLUR on some of the mid range plants, (LisaB's Hosta) so the log/girl would 'pop'! :)
 

HadCancer

Motivated
Never learned DOF. I have seen it in Poser but never figured how to get it to focus on the right thing. Of course I have just started using DS 4.9 and have yet to figure out how to use the basic functions much less DOF. OF course I have yet to buy anything here so could not participate anyway. Joined as I had left the artworld for a few years and found most of my friend disappeared. I found a few had trekked over here.
 

Miss B

Drawing Life 1 Pixel at a Time
CV-BEE
As the rules for the challenge state, you can do the DoF with postwork in your 2D graphics application of choice. A lot of folks like to do the background of the scene separately, and then blur it in Photoshop, PSP, Gimp or the like, before compositing it with the foreground of the scene, which was rendered in Poser or DS.

IOW, you don't have to do the DoF in Poser.
 

Lyne

Distinguished
HW Honey Bear
Never learned DOF. I have seen it in Poser but never figured how to get it to focus on the right thing. Of course I have just started using DS 4.9 and have yet to figure out how to use the basic functions much less DOF. OF course I have yet to buy anything here so could not participate anyway. Joined as I had left the artworld for a few years and found most of my friend disappeared. I found a few had trekked over here.

nice to see you pop your head in this thread... and FYI... I could never make DOF work in poser myself...tho to be honest, haven't tried it in PP 2014 yet... hmmm...
 

Dakorillon (IMArts)

Dances with Bees
Contributing Artist
FINISHED RENDER
Serene Dream

My 3rd entry....Could not believe I had not posted my MOST favorite piece in my gallery here... and also used DOF in 2 ways- blurred the background pic and LESS BLUR on some of the mid range plants, (LisaB's Hosta) so the log/girl would 'pop'! :)

I'm not sure which one I like best! Glad I'm not the one judging! These are all three very lovely.
 

3dcheapskate

Busy Bee
Never learned DOF. I have seen it in Poser but never figured how to get it to focus on the right thing. Of course I have just started using DS 4.9 and have yet to figure out how to use the basic functions much less DOF. OF course I have yet to buy anything here so could not participate anyway. Joined as I had left the artworld for a few years and found most of my friend disappeared. I found a few had trekked over here.

Using Poser's built-in DoF is child's play... at least in principle*. Two simple steps:

1) Turn on Depth of Field in your render settings
2) Set 'focus_Distance' on the Parameters tab of your render camera to match the point-to-point distance distance between your camera and the object you want to

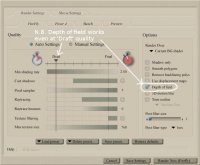
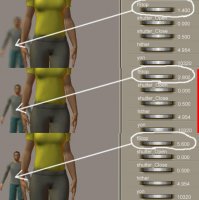
And just to be certain that I'm not talking through my hat, I did a simple test in Poser 6 (yes six). Even with render quality set to 'Draft' on the 'Automatic' settings, I can move the focus from James to Jessi by adjusting 'focus_Distance'. Here's some annotated screenshots:

dofSettings.jpg changingFocus.jpg


*But as you pointed out, the difficulty is to '...get it to focus on the right thing'. I know of four different methods:
1) The 'official' method, i.e. using the focus distance guide.
2) The trial and error method, starting with an educated guess
3) Z depth map methods
4) PoserPython script methods

The only reasons for even considering methods (2) to (4) is that there are a couple of niggly irritations associated with method (1). I need to reconfirm everything and take a few screenshots, but I should be back in a short while...
 

3dcheapskate

Busy Bee
Method 1 (Using The Focus Distance Guide), And TSome Associated Problems

To display the focus distance guide it's Display > Guides > and tick 'Focus Distance Guide'. You should see a thin black X with a small 'O' and a dot at its centre overlaid on your preview pane. It may be in front of everything, behind some things, or intersecting with objects, all depending on the current value of 'focus_Distance' for the camera you're looking through.

It should simply be a case of adjusting 'focus_Distance' for your camera until the guide intersects with the object you want to focus on.
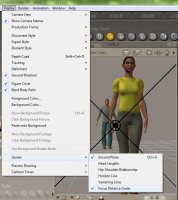
FDguide.jpg

However, you may run into some problems. Irritations A and/or B may only exist in older Poser versions, and/or may have something to do with my particular computer setup (a laptop with both Intel and nVidia graphics).

Method 1, Irritation A: The focus guide doesn't show up! I've found that sometimes I need to change the camera I'm viewing through, and then change back in order to get the focus guide to show up. Sometimes that doesn't work, in which case I usually try adjusting the 'focus_Distance value for the camera I want to use to a rough guess at the correct figure - I've noticed that if 'focus_distance is too small or too large the focus guide may not be displayed, perhaps to the hither/yon cropping?

Method 1, Irritation B: When I adjust 'focus_Distance' for the camera the focus guide doesn't change! This is a real pain, and if it happens then you can never be sure that the preview image and focus_Distance value actually correpond to each other. I've found that it usually seems to happen if you type a value into the 'focus_distance' (rather than twiddling the dial). Changing the view camera to another one and back again does NOT seem to resolve it. However, giving the 'focus_Distance' dial a slight nudge often does.

Method 1, Irritation C: The object I'm interested in isn't at the centre of the image, so the focus guide is no help! James and Jessi in the screenshot don't show this problem, but imagine that James was on the right edge of the preview pane, like this...
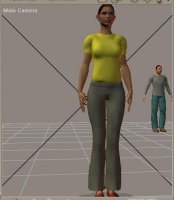
cantTell.jpg
The guide's never going to intersect with him simply by changing focusDistance. You can of course rotate the camera so that he's at the centre of the preview pane, and if you're using a dolly camera this'll work fine. But if you're using an orbiting camera (e.g. Main or Aux) then the position of the camera will change as you rotate it (the DollyX,Y,Z values are not the position of the actual camera, but the position of a point about 10 feet away, and the point about which the camera.rotates may be somewhere else entirely! I still don't fully understand the details, despite a lot of investigation and guidance from bagginsbill - this is my understanding at present Focal Length Value For An Exact 90 Degree FOV ? ).

For this irritation C reason I'd recommend using the dolly camera if you want to use the focus distance guide.
 

3dcheapskate

Busy Bee
The 'fStop' parameter for your render camera works in exactly the same way with respect to depth of field as it would on a camera. Higher values increase the depth of field bringing more of the image into focus. Here are three Poser 6 draft quality renders focussed (roughly!) on Jessi but with different fStop settings for the main camera.
fStop.jpg
 

3dcheapskate

Busy Bee
2) The trial and error method, starting with an educated guess
Knowing that DoF works even with draft quality makes it easy to do several (or even dozens of) quick spot renders of small areas of interest while playing with focus distance and S Stop values. Tick the 'Visible' box on the parameters tab of your render camera, change to Top View, and zoom till you can see your camera and part of the scene - you should be able to make a guesstimate of the focus distance.

3) Z depth map methods
If you render a depth map everything in the scene will be rendered in a shade of grey representing its distance from the camera (it's a moot point whether this is point-to-point distance or Z depth in camera space, and I think it depends pon how you create your depth map), with black and white representing some minimum/maximum distances. If you use the Poser Atmosphere to create your depth map you can set precise values. If you use the auxiliary Z depth render I think it uses the closest and most ditant visible objects (perhaps you can add a couple of objects specifically to control those?) Simply find out the colour of the point you want and do a bit of maths to get the distance.

4) PoserPython script methods
Using PoserPython it's possible to find the distance from the camera (the actual camera, so orbiting cameras aren't a problem) to any object. I haven't tried this method, but I know it works in principle, and there are probably freebie scripts by Dimension3D, ockham, etc that do this.
 
Top