• Welcome to the Community Forums at HiveWire 3D! Please note that the user name you choose for our forum will be displayed to the public. Our store was closed as January 4, 2021. You can find HiveWire 3D and Lisa's Botanicals products, as well as many of our Contributing Artists, at Renderosity. This thread lists where many are now selling their products. Renderosity is generously putting products which were purchased at HiveWire 3D and are now sold at their store into customer accounts by gifting them. This is not an overnight process so please be patient, if you have already emailed them about this. If you have NOT emailed them, please see the 2nd post in this thread for instructions on what you need to do

How to make a Bow (for a hat or clothing) in ZBrush, with pictures

Bonnie2001

Extraordinary
I had to put "for a hat or clothing" in the title so you won't think it's an archery bow!

Okay so here is how I made a bow for a hat I made for Dawn, details of which are in this thread: What I worked on today


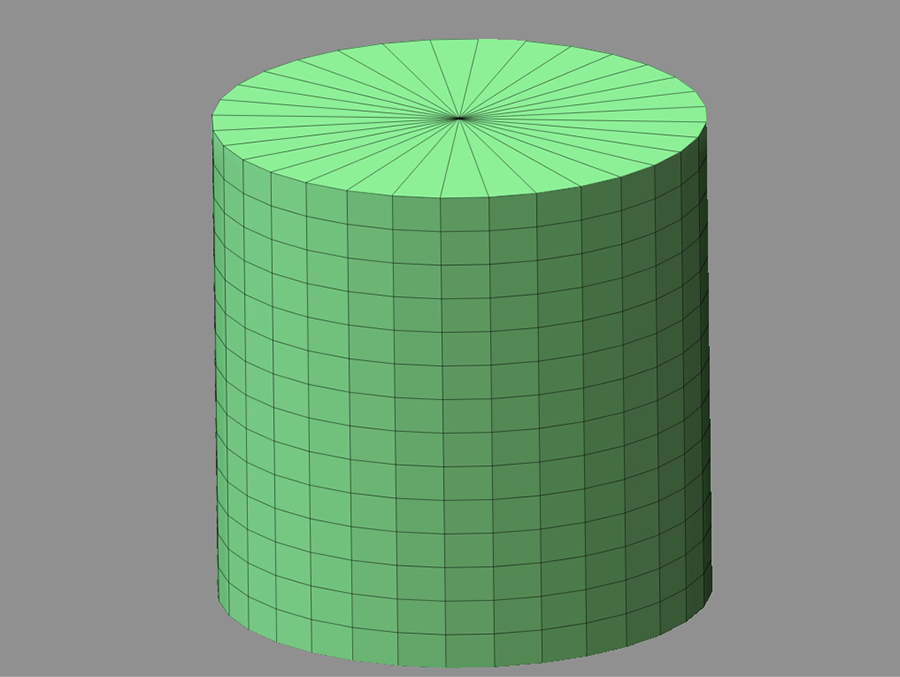
So, for a start, I imported a ZBrush cylinder primitive.
a.jpg


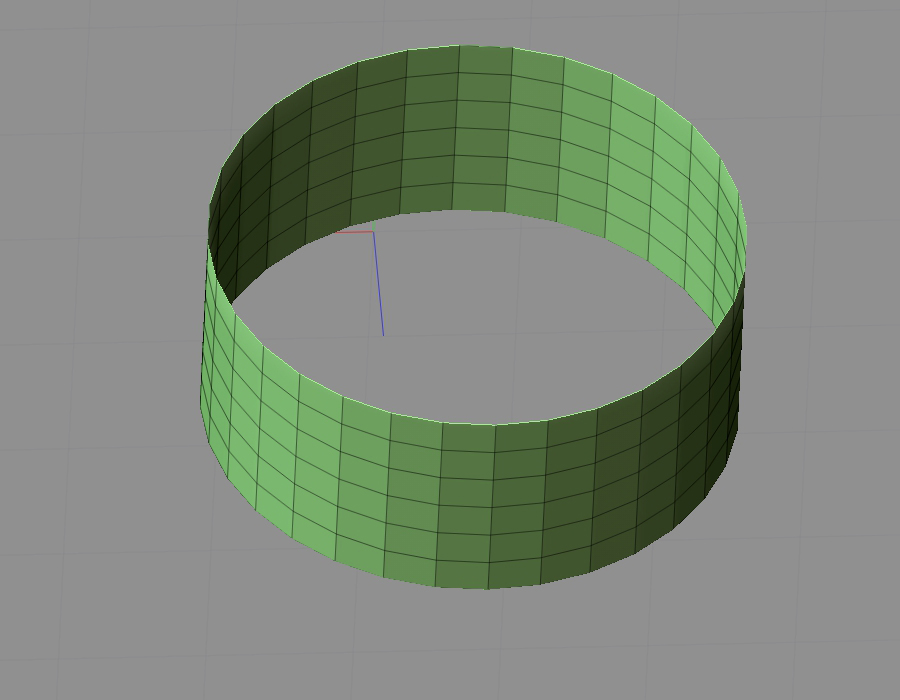
I didn't want the full cylinder, only 6 rows of polys from the centre. So I held down Shift+Ctrl and dragged the green rectangular selection over the centre 6 rows, which cut that section out. I was unable to screengrab that part, it wouldn't work for me. But the image below shows the result.
I could also have used ZModeler to do this (I used ZModeler for everything else here) by holding down Alt and selecting the polys I didn't want and deleting them.
01.jpg


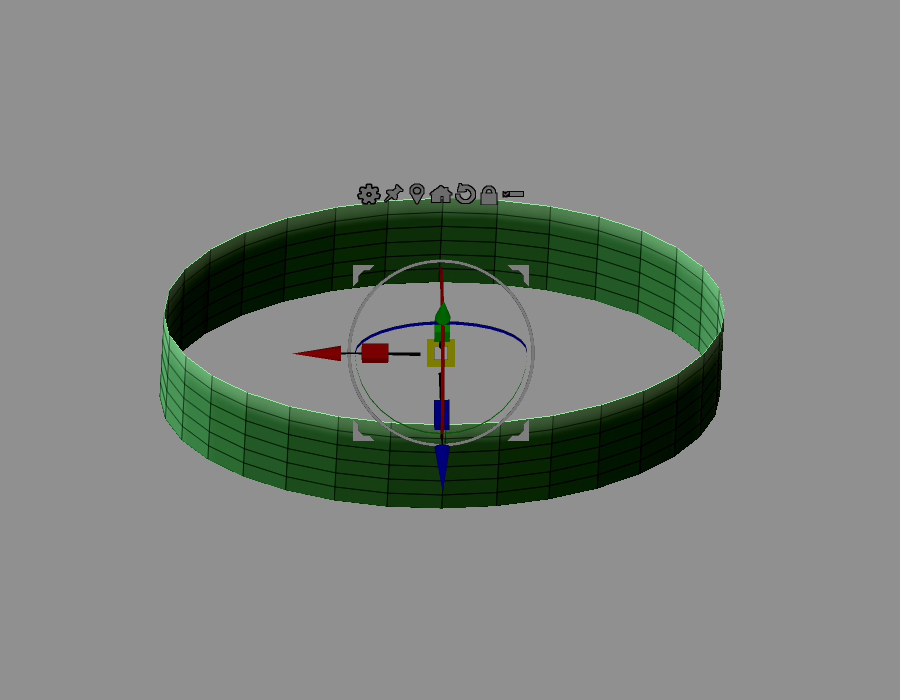
Into ZModeler to squeeze (scale inward) the bow along the Z axis, to get a starter loop shape.
b.jpg


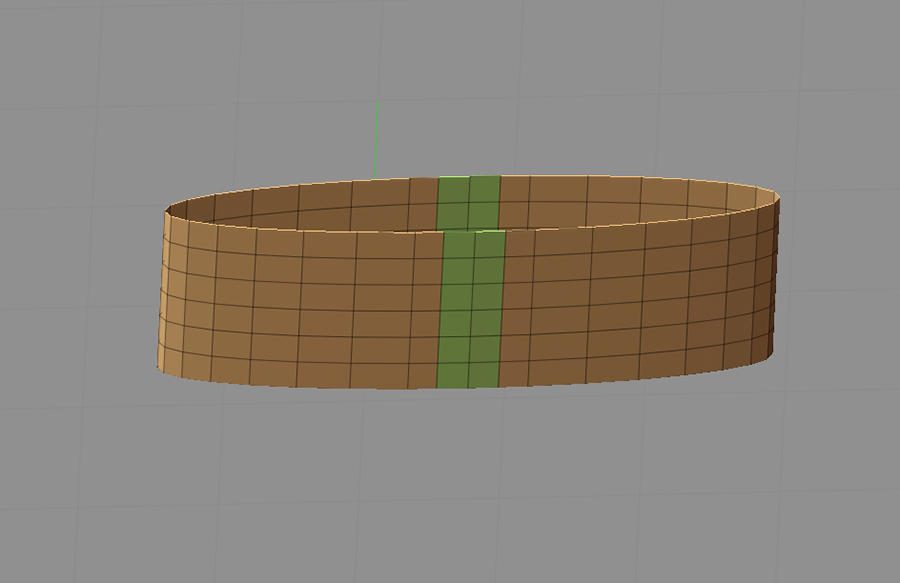
Then I masked the outer ends and made a polygroup of the centre, which will later be the knot.
04.jpg
 

Bonnie2001

Extraordinary
Next I wanted to shape out the bow. First thing was to mask the ends of the bow and pull the knot area in along Y axis.

05.jpg


06.jpg


Next I inverted the mask and shaped the bow (on X axis) up and then out at the ends, adjusting the mask as I went.

06.jpg


08.jpg


09.jpg


10.jpg
 
Last edited:

Bonnie2001

Extraordinary
Which left me with this.

11.jpg


Still in ZModeler, I needed to shape the bow on the Z axis. First, I wanted to add thickness to the bow. I did this by using the Extract option in the Subtool palette, setting the thickness at 0.002. This is the result.

11a.jpg


As you can see, the thickened areas are a new polygroup, which I didn't want. To fix that, I made the knot area into a polygroup, and the rest of the bow another polygroup. To do that, mask the area you want to group, then hit Ctrl+W. You can see the result in the image below. Also you can see how I shaped the bow using masking and ZModeler as I did in my previous post.

12.jpg


13.jpg


14.jpg
 

Bonnie2001

Extraordinary
After that, it was time to have fun shaping the bow to fit on the hat. For that, I subdivided the bow about 6 times. Then I masked the knot polygroup and in the Deformation palette I inflated it along Z. Then I inverted the mask and used a ZBrush stock cloth fold alpha on the wings of the bow. I had used a custom Alpha on the hat itself, as you can see below.
With that done, I moved the bow into position on the hat and used the Move brush to shape it so it looked the way I wanted it to look.

hat23.jpg


hat24.jpg


hat25.jpg
 

Bonnie2001

Extraordinary
That's all there was to it. I think it took less than 30 minutes to make the bow, from start to finish. To be honest, I spent more time thinking about how to make it than I did making it. ;)
 

Miss B

Drawing Life 1 Pixel at a Time
CV-BEE
I sometimes wish that were the case. Oh, and I realized you had the images in the wrong order.

I can try and edit it for you. As a CV-Bee I have lots of options, and I think editing a post is one. ;) Annnnnd it's done. :)
 

Miss B

Drawing Life 1 Pixel at a Time
CV-BEE
BTW Bonnie, you mention the Z axis in your notes, and I know not all 3D software has the Z and Y axes in the same direction. For instance, in Poser the Y axis is up and down, and the Z axis is front to back, but in Blender they're opposite with the Y axis front to back, and the Z axis up and down, so I have to be sure to switch them before exporting.
 

Bonnie2001

Extraordinary
Thanks for fixing the images Miss B.
Yes it's odd how the axis are different in some programs. I wonder why they all don't do it the same? I mean it surely can't be hard to implement. At least ZBrush and Poser are the same. :)
 
Top