And you basically apply this to a simple ground prop (square or round)?... Opens up whole new worlds of possibility.
It
can be a simple ground plane (either square or round), but it can just as well be a complex terrain mesh, or even a non-terrain object. You could make a control map for the P9 flat square ground plane or the P11 "construct" (shaped more like a Hershey's Kiss, sans peaked top).
The mesh could be an urban "ground level"; black is asphalt, red is sidewalk/curb, green is crosswalk (striped asphalt), blue is storm sewer grate.
It could be a space ship: R=ceiling, G=catwalk floor grate, B=light panels, black=hull wall.
It could be a doll's skin: R=chain mail, G=leather, B=tattoo, black=bare skin.
You can study the terrain from one of my enviro sets. It will look intimidating at first; then you'll realize that it's just repeated clusters of nodes. Instead of a single image map as in the demo above, each color (Red, Green, Blue, and black) will have a
pair of similar asymmetrical seamless tiles. Instead of tiling one image map, I tile a scrambled mix of the two maps. Why? So that you can tile multiple times and not see a blatant repeated tile pattern. This enables you to cover a massive terrain with fine closeup detail at modest memory cost.
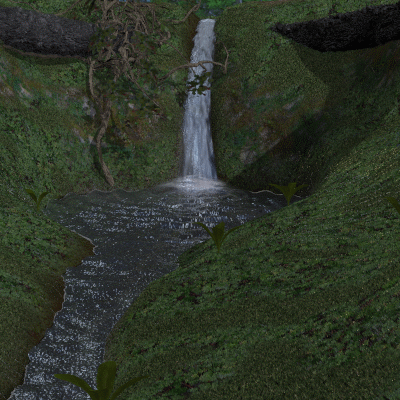
 Lothlorien
 is tiled 800 times; it would take 48
Millennium Environments strung together to reach from one side to the other. Yet, you could render a doll's shoe and see decent detail (twigs, grass blades) on the ground at her feet.
Notice that the tiles have different scales. One source picture may have been taken at 5ft away, while another was taken at 8ft. So, I scale the image maps to get them equalized. That also helps prevent repeated tile artifacts, because the two maps are repeating at different rates.
I have boxed in pink one of these 2-tile scramble clusters. You'll see two similar -but different- tile image maps feeding into a blender controlled by the B&W scrambler spot map. Where the spot map is black you see viny stone; where the spot map is white you see mossy stone. And you never see a repeated tile.

Then that blender's output goes to another blender which overlays the stony texture onto the default (RGB map black) grassy texture; that blender is controlled by the Red component of the RGB discriminator map.
Now imagine another pink box cluster for each of the RGB colors, controlled by its own component node from the same RGB discriminator map.
Finally, there is pink box cluster for the underlying default material -grass & violets- and the output of that last blender of that last cluster is your finished texture.
It looks terrible, but it's just Legos snapped together.
Just multiples of the pink-boxed cluster you see above, with more clusters for stone bump and grass/violet displacement. Sure, it's a mess, but it's modular, just multiple cluster assemblies.